Sign Up on 9Tiger Cloud
The first step for using 9Tiger Application Platform Services is to sign-up and create an account. This guide provides step-by-step instructions to create a new 9Tiger account. Follow the process below to sign up and access cloud services.
Step-by-Step Registration
1. Access the 9Tiger Platform
- Open your web browser (Chrome, Firefox, Safari, etc.).
- Navigate to the 9Tiger Platform homepage:
https://9tiger.io.
2. Start the Registration Process
-
Click the Sign Up button in the top-right corner of the homepage.
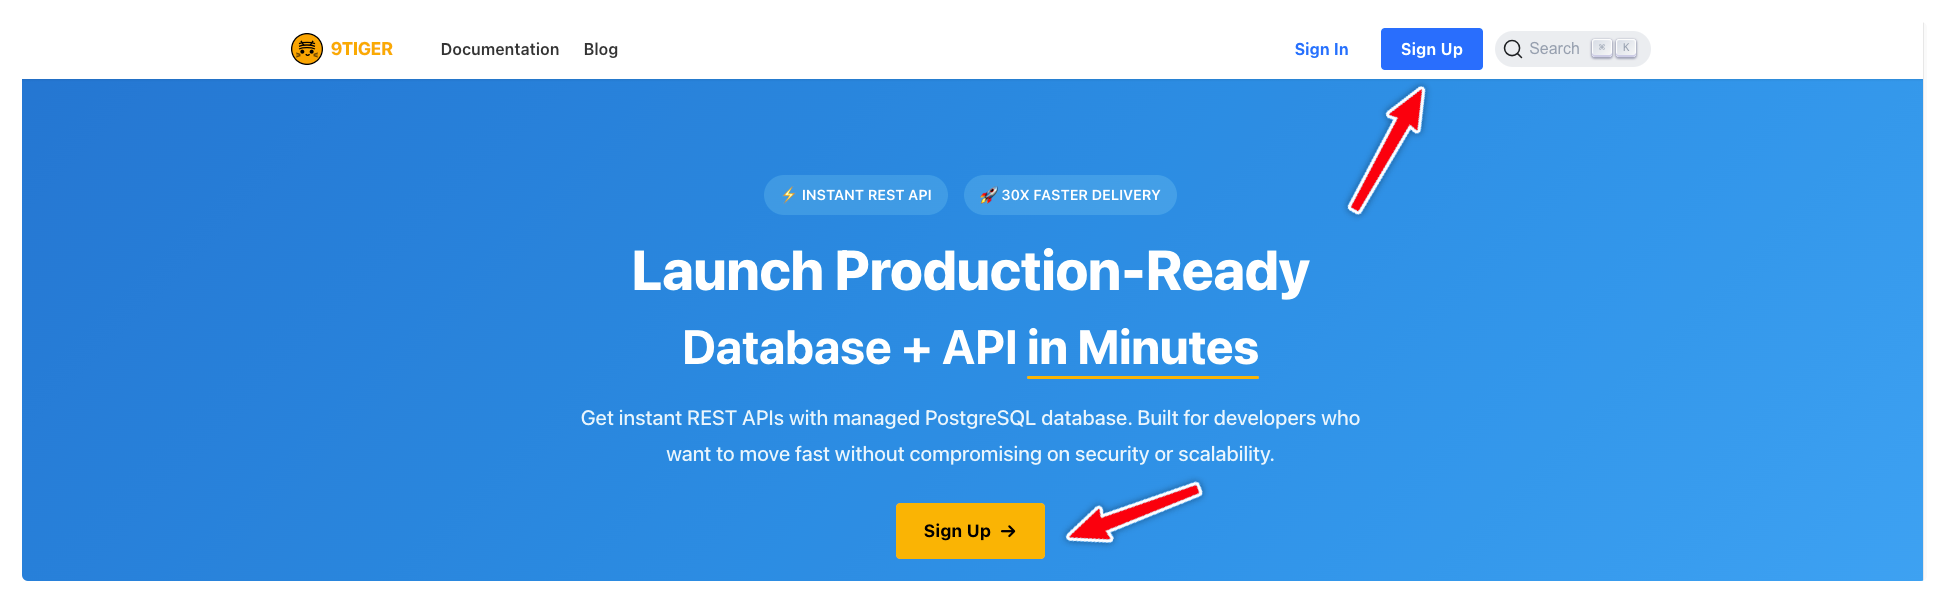 (Fig 1: Signup Button)
You will be redirected to: https://platform.9tiger.io/signup. -
The sign-up page to create your account with 9Tiger is shown:
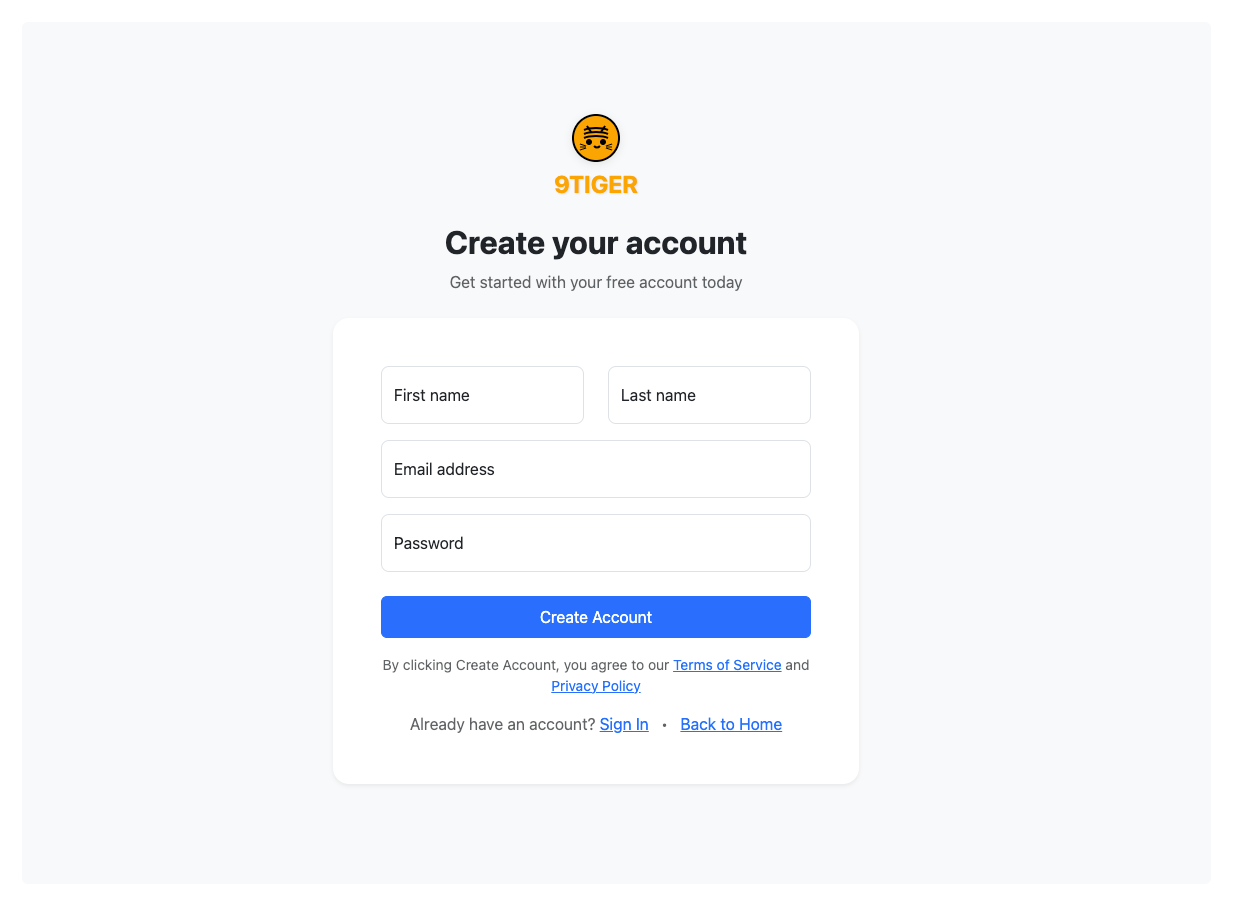 (Fig 2: Signup Form)
3. Fill in the Registration Form
Complete all required fields:
| Field | Description |
|---|---|
| First Name | Enter your first name. |
| Last Name | Enter your last name. |
| Email Address | Provide a valid email (e.g., [email protected]). |
| Password | Create a strong password (min. 8 characters, mix of letters, numbers). |
4. Submit the Form
- Click the Create Account button.
On submit, a new account is created and an email is sent to the sign-up email (above) for verification.
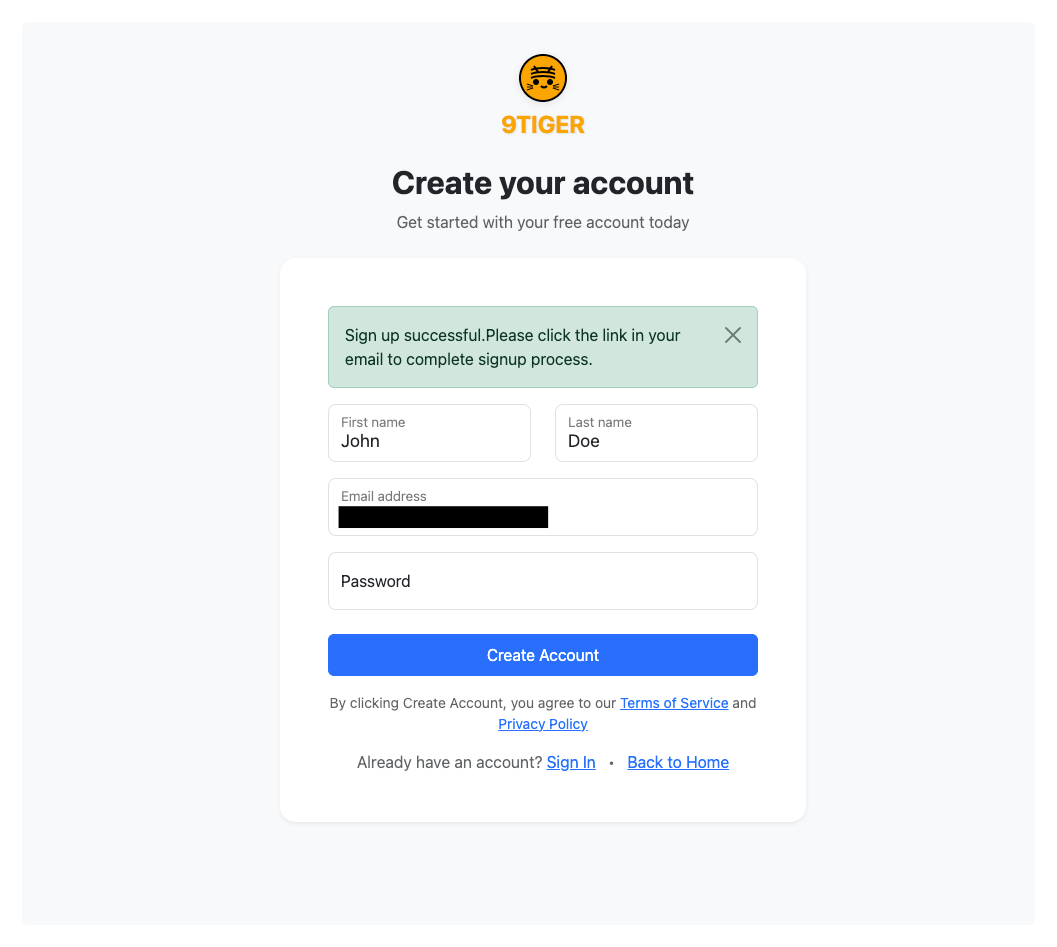 (Fig 3: Signup Success)
5. Verify Your Email Address
- Open the email inbox for the address you provided.
- Look for an email from 9Tiger Cloud with the subject Verify Your Email.
- Click the Verify Email Address button/link in the email.
(If you don’t see the email, check your spam/junk folder.)
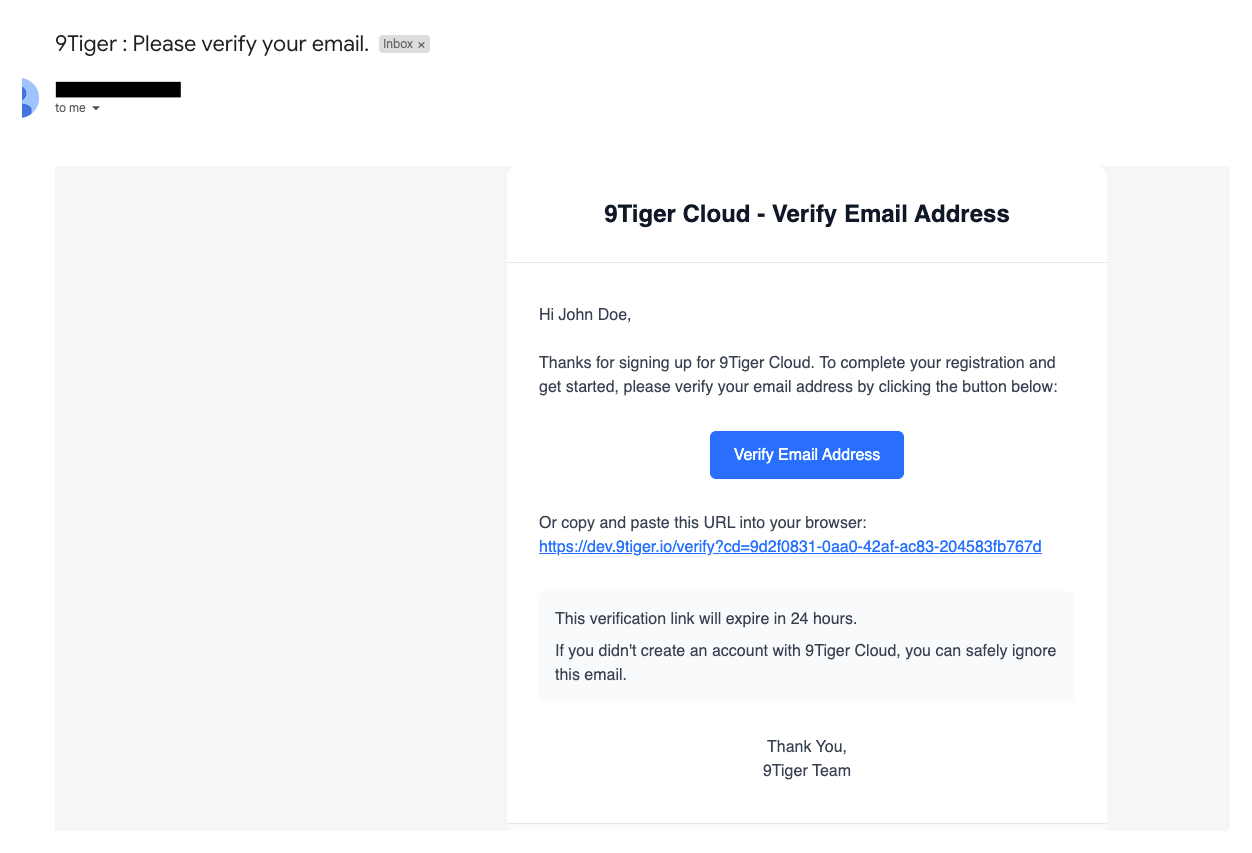 (Fig 4: Signup Email)
6. Complete Email Verification
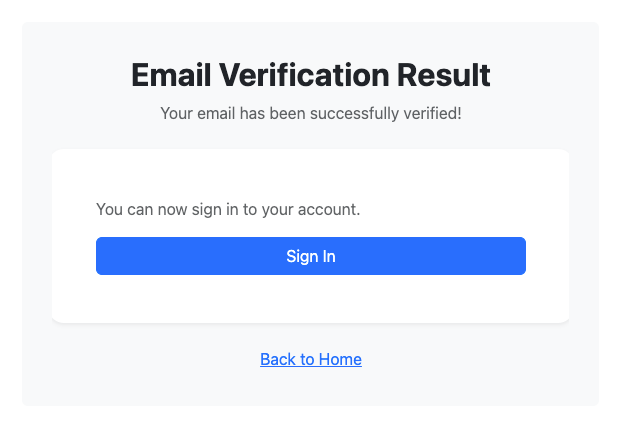 (Fig 5: Email Verification)
- Once you click on the Verify Email Address button/link in the email, your account is verified.
- After verification, you can click Sign In to Sign In and start using 9Tiger.
- You can also go to the 9Tiger home by clicking on Back to Home.
Troubleshooting
- Email not received? Contact support at [email protected] for assistance.
Next Steps
© 2025 9Tiger Cloud. All rights reserved.
Documentation version 1.1 | Last updated: April 2025